Outside Mount – When and Why
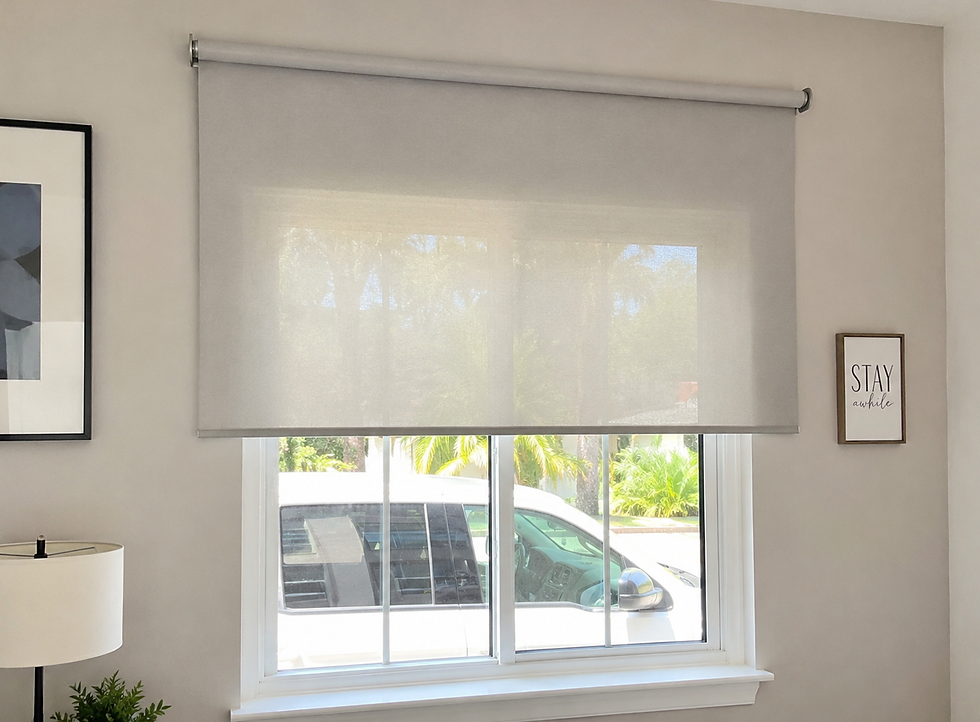
Outside mount is chosen when you want to make a window appear larger, hide unattractive trim, or when the window casing lacks the depth for an internal installation.
It’s ideal when:
• Your window depth is too shallow for an inside mount.
• You want to achieve maximum light blockage by covering the entire frame.
• You wish to hide imperfections in the window casing or trim.
• You want to maintain a completely clear view when the shade is raised.
Outside mount offers a bold, decorative statement and provides superior privacy by eliminating light gaps at the edges.
.png)
How to Measure (Outside Mount)
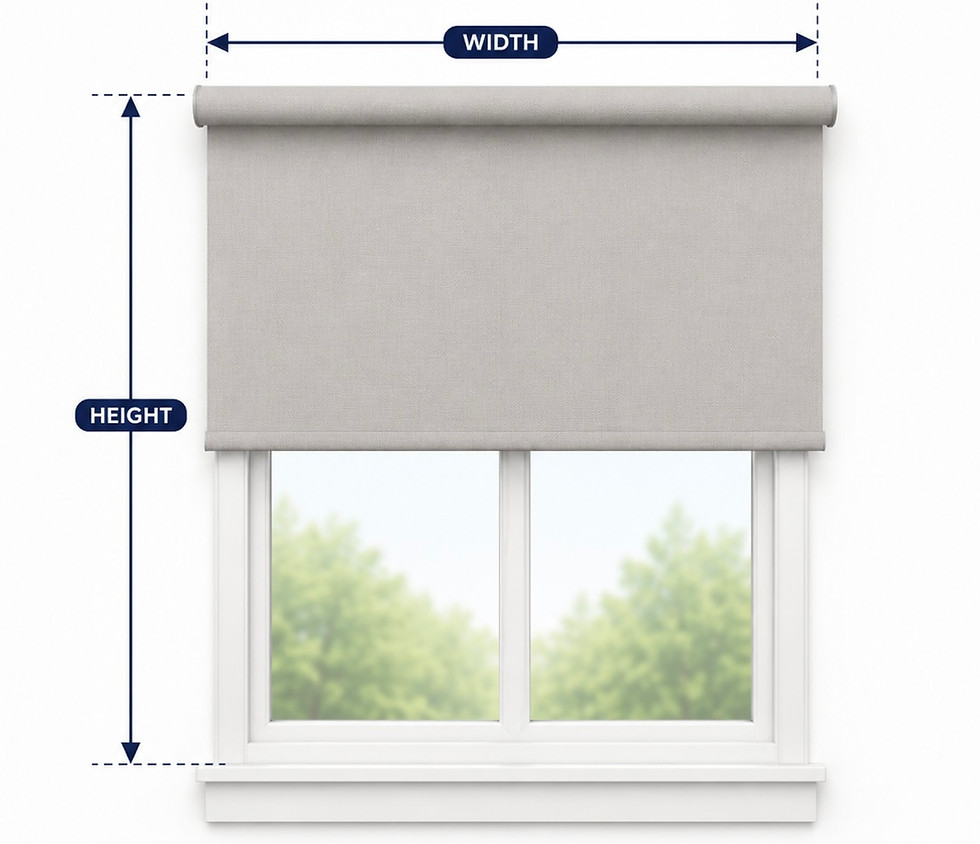
Step 1: Determine Width
- Measure the width of the area you wish to cover.
- We recommend adding 2-3 inches to each side (4-6 inches total) to minimize light leakage.
- Ensure there is enough flat surface for the mounting brackets.
Step 2: Determine Height
- Measure from your desired top point (above the frame) to your desired end point.
- If measuring to a windowsill, stop at the sill. For windows without sills, measure to 2-3 inches below the frame.
- Factor in 2-3 inches of extra height at the top for bracket clearance.
Pro Measuring Tips
Check for bracket and valance clearance at the top of the window. Note that the fabric width will be slightly narrower than the overall headrail width to allow for bracket hardware.
Mounting Surface Requirements
Product Type
Flat Surface Required
Roller & Solar Shades
2" minimum
Zebra Shades
2.25" minimum
Horizontal Blinds
1.75" minimum
Drapery Hardware
4" minimum
Other Specialty Products
Varies by bracket